Contents
How to Clean an Axolotl Tank?
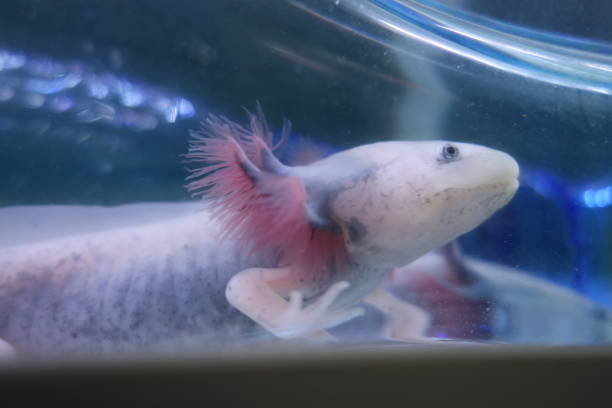
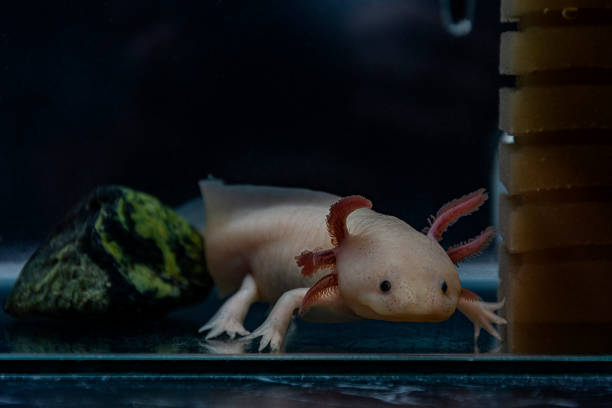
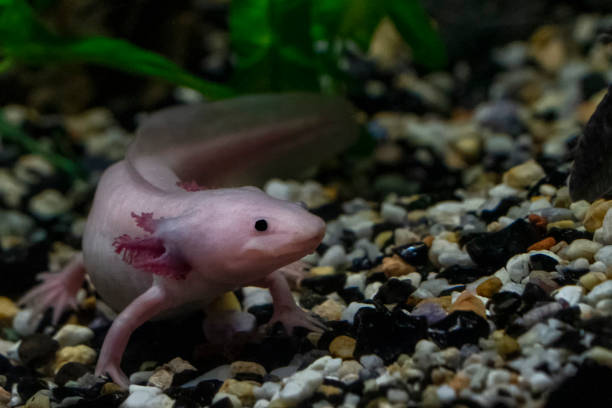
So, you’ve fallen head over heels for those adorable aquatic creatures known as axolotls. Who could blame you? With their frilly gills and perpetual smiles, they’re like the underwater unicorns of the pet world. But here’s the catch: axolotls need a clean and healthy home to thrive, which means it’s time for a little tank tidying. In this step-by-step guide, we’ll walk you through the process of keeping your axolotl’s abode squeaky clean.
Understanding Axolotls and Their Needs
Before we dive into the cleaning process, it’s essential to understand these aquatic critters and what makes them tick (or should we say, swim?).
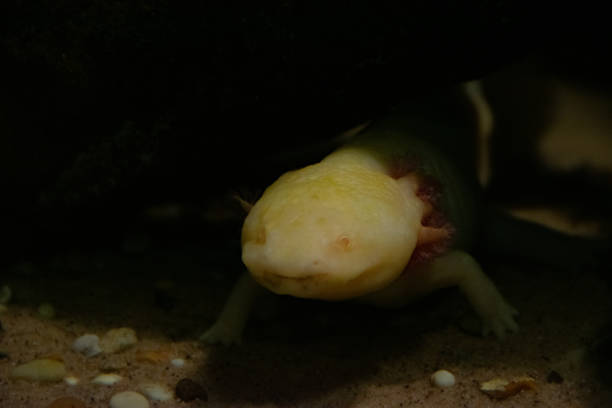
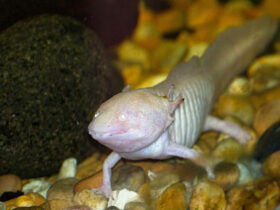
Axolotls are a special breed. They hail from the cool waters of Mexico and are a type of salamander that never fully matures. They spend their entire lives underwater, which means their tank is their world. Any changes in their tank can affect their health and happiness.
Imagine you’re in your cozy home, and someone suddenly rearranges all your furniture. It might take some getting used to, right? Axolotls feel the same way about their tank. A clean and stable environment keeps them stress-free and healthy.
Factors Affecting Water Quality
Several factors impact the water quality in your axolotl tank. These include temperature, pH levels, ammonia, nitrite levels, and water hardness. Let’s dive deeper:
- Temperature: Axolotls are cold-blooded, so they rely on their environment to stay comfortable. Think of them as the Goldilocks of the underwater world; the water temperature should be just right, ideally between 60-68°F (15-20°C).
- pH Levels: These determine if the water is acidic or alkaline. Axolotls prefer slightly alkaline water, with a pH level of around 7.4-7.6. If the pH is too far off, it can stress them out.
- Ammonia and Nitrite Levels: Just like we can’t breathe in polluted air, axolotls can’t thrive in water with high ammonia or nitrite levels. Aim to keep these close to zero.
- Water Hardness: Think of this as the water’s mineral content. Axolotls prefer their water moderately hard, usually around 75-100 ppm (parts per million).
Necessary Supplies
Now, before you put on your cleaning gloves, let’s gather the essential supplies you’ll need to get the job done right. Think of it as your axolotl cleaning toolkit.
Imagine you’re preparing for a home improvement project. You’d gather all your tools, right? Here’s what you’ll need for axolotl tank cleaning:
- Gravel Vacuum: This nifty tool is your underwater vacuum cleaner. It helps you siphon out debris from the substrate.
- Scrubbing Brush: Just like you’d scrub a bathtub, your tank walls need a scrubbing too. The brush helps tackle those stubborn algae spots.
- Water Conditioner: Think of this as a magic potion. It removes chlorine and chloramines from tap water, making it safe for your axolotl.
- Dechlorinator: Another superhero in your cleaning arsenal. It neutralizes harmful chlorine and chloramines, ensuring your axolotl doesn’t take a chlorine bath.
- Buckets: You’ll need these for the heavy lifting—carrying water to and from the tank.
- Algae Scraper: The axolotl tank’s window to the world can get a bit cloudy with algae. The scraper is like a magic eraser for your tank walls.
- Siphon Hose: This is like the wizard’s wand for water changes and cleaning, making everything flow smoothly.
Ensure these tools are solely dedicated to your axolotl tank to avoid any cross-contamination. You wouldn’t want to bring in any unwanted guests, would you?
Preparing for Cleaning
Safety first, folks! Before you start the cleaning frenzy, consider these precautions:
Turn off the Heater and Filter: We don’t want any accidents during the process. Think of it as turning off the lights before leaving the house.
Unplug Electrical Equipment: Keep those cords dry. Just like you wouldn’t use your hairdryer in the bathtub, don’t mess with electricity around water.
Prepare a Safe Container for Your Axolotl: Your axolotl needs a temporary home while you spruce up their place. Imagine redecorating a room; you wouldn’t want to be in there with paint and dust flying around, right?
A clean, separate container filled with dechlorinated water is your axolotl’s spa day spot. Make sure it’s big enough for them to swim comfortably but not so big that they get lost.
Now, you’re all set to start the cleanup.
Draining the Tank
First, we’re going to remove some of the tank water, but don’t panic – we won’t leave your axolotl high and dry.
Using the Gravel Vacuum: Gently insert the gravel vacuum into the substrate, just like you’re using a straw to sip your favorite drink. Start the siphon by creating suction with your mouth (don’t worry; you won’t swallow the water).
Think of it as giving your tank a spa bath. The debris gets sucked up, leaving your axolotl’s home feeling fresh and clean.
How Much Water to Remove: Generally, you should aim to remove about 10-20% of the water. It’s like giving your axolotl a water change but without the hassle of draining the whole tank. This helps maintain a stable environment for your axolotl.
Storing the Removed Water: Don’t toss it! Set aside the water you’ve siphoned out. It’s like saving some of your pasta water before draining it. You’ll need it later to top off the tank.
Cleaning the Tank
Time to roll up those sleeves and get your hands wet, but not before taking a few important steps.
Scrubbing the Tank Walls: Grab that scrubbing brush, but skip the harsh chemicals. Your axolotl wouldn’t appreciate the smell of bleach any more than you would. Gently scrub away any algae growth, revealing the pristine tank walls beneath.
Imagine you’re a painter. You don’t want to use a jackhammer on a delicate canvas, right? The brush is your gentle touch to keep your axolotl’s world looking great.
Cleaning the Substrate: Now, let’s focus on the substrate (that’s the gravel or sand on the tank floor). Use the siphon hose to remove debris from the substrate. Think of it as giving your axolotl’s floor a good sweep, but without a broom.
But remember, don’t go overboard; a little mess is good for your axolotl’s natural habitat. Imagine if someone vacuumed your house every day; you’d feel a bit out of place, right?
Tank Decorations: Those decorations in your tank are like the art on your walls. They add character. Give them a good rinse in the removed tank water to remove any gunk or algae buildup. It’s like dusting your favorite ornaments.
Filter Inspection: Take a peek at your filter. If it’s clogged or dirty, it’s like a blocked nose for your axolotl. Give it a rinse or replace the filter media if needed. Your axolotl will thank you for the fresh air (or water, in this case).
Removing Uneaten Food or Waste: Ensure there’s no leftover food or waste in the tank. It’s like clearing the dinner table after a meal. This helps maintain water quality and prevents nasty surprises down the line.
Refilling and Treating the Water
Now comes the refreshing part – clean water for your axolotl’s pleasure!
Adding Dechlorinator: Treat tap water with dechlorinator to make it safe for your axolotl. Imagine it as adding a little magic potion to transform ordinary tap water into a spa-like haven for your axolotl.
Water Temperature: Ensure the new water matches the tank temperature to prevent shocking your axolotl. Think of it as adjusting the bathwater so it’s just right – not too hot, not too cold.
Gradual Reintroduction: Your axolotl has been patiently waiting in its temporary container. Slowly acclimate your axolotl to the clean tank by placing it in a container with the new water for a while. Think of it as dipping your toes in the pool before diving in.
Monitoring Water Parameters: After refilling, keep an eye on temperature, pH, and ammonia levels to ensure they remain stable. Imagine you’re taking your axolotl’s vitals after a spa day to make sure they’re feeling their best.
Routine Maintenance and Cleaning Schedule
Remember, cleanliness isn’t a one-time affair. It’s an ongoing relationship with your axolotl’s tank.
Regular Cleaning: Stick to a routine cleaning schedule to keep your tank in tip-top shape. Imagine it’s like tidying up your house regularly to maintain a happy home.
Water Quality Checks: Monitor water quality between cleanings using test kits. It’s like checking your car’s oil between services to catch any issues early.
Preventing Common Issues: Learn how to tackle cloudy water, algae outbreaks, foul odors, and high ammonia or nitrite levels. Think of it as having a first-aid kit on hand for your axolotl’s tank.
Conclusion
Congratulations! You’ve successfully mastered the art of cleaning an axolotl tank. Your axolotl will be swimming in delight in its sparkling clean home. Remember, a clean tank equals a happy axolotl, and a happy axolotl equals a happy you. Happy axolotl-ing!




Leave a Reply